Stay Connected


Adjusting Camber with Skunk2 Racing’s Pro Camber Kit
 Adjusting Camber with Skunk2 Racing’s Pro Camber Kit
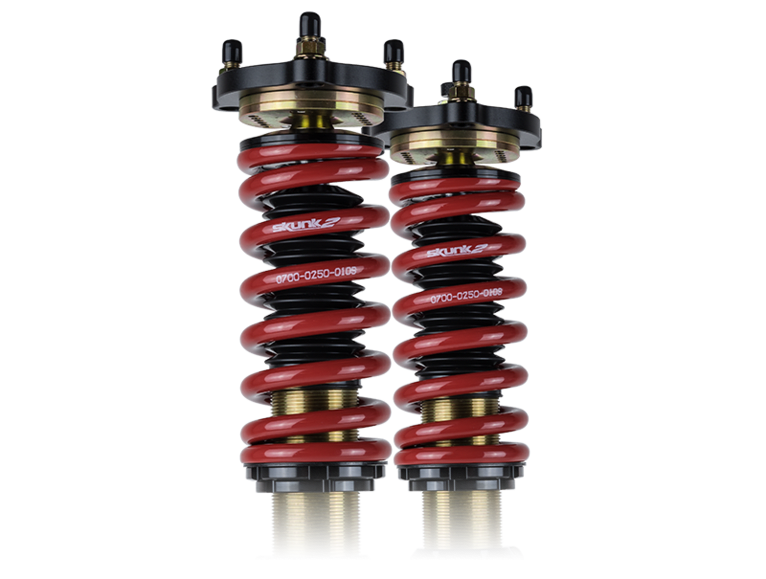
 One of the easiest modifications to make to a vehicle to improve performance is vehicle alignment. And, if you can do the alignment yourself then it doesn’t cost you anything to make your car faster. Your only limitations are the amount of adjustments your vehicle will allow. For our 1990 Acura Integra NASA Honda Challenge race car we initially couldn’t get enough front negative camber (the top of the tire leaning in toward the vehicle). To rectify this issue we upgraded to the Skunk2 adjustable front upper control arm (Pro Camber Kit: Part #516-05-5650).
 Camber settings are crucial for racing as the correct amount of camber ensures the largest contact patch between the tire and the racing surface during hard cornering. This is an easy adjustment and is a “free” modification to go faster around a track.
Installation of the Skunk2 Pro Camber Kit was easy. It gave us the adjustability we needed and we have been using the same control arms for four full seasons of hardcore Honda Challenge racing. As we travel from track to track we like to make setup adjustments for certain course designs and the Skunk2 parts allow us to make those changes. To measure exactly how much camber we have in our setup we use the Smart Camber tool.
 To accurately measure how much camber our race car has we use the Smart Camber tool from www.smartracingproducts.com. This is a simple to use tool that helps us get our camber to within a tenth of a degree.
Instead of towing our race car to an alignment shop for a $100 alignment every time we want to make a small change we choose to do our own alignments with the Smart Camber tool. To correctly use the tool all you need to do is hold it against the wheel and it displays the current camber number.
 For accurate adjustments before we measure our camber we set our tire pressures to the same amount the tires would be when they are hot (for our team that is 30 psi). This tire is a little bit high so we will bleed it down to 30.0 pounds exactly
There are a few tricks of the trade for doing accurate vehicle alignments. One is to have a driver in the driver seat or weights in the seat to replicate a driver in the car. Also, by setting tire pressure to what it will be under hot pressure on track will help the car model what it will be like during race conditions before we make any camber measurement or adjustments.
 By simply holding the Smart Camber tool against the edges of the rim we can measure our camber. The left front wheel measured 6 degrees of negative camber, which is more than we want, time to make an adjustment.
Before taking our camber measurements we will roll the car back and forth on a level surface and take any bind out of the suspension. We make sure the steering wheel is perfectly straight and then measure our camber. Our first measurement indicated we had too much negative camber (the top of the tire too far into the car) so we wanted to take some camber out.
 To adjust the camber using the Skunk2 adjustable upper control arm we needed to loosen the allen head bolts that tighten the upper ball joint to the upper control arm. For this we use a ratchet and an allen socket.
The Skunk2 Pro Camber Kit allows for the upper ball joint to slide in and out of the upper control arm to adjust camber. Four allen head bolts lock the ball joint down once the correct camber setting is found. Instead of a small “L” shaped allen wrench (which is difficult to use in the wheel well) we use an allen socket on a ratchet. The right tools always make a project go smoother.
 By loosening the allen bolts the sliding ball joint can be moved in (more camber) or moved out (less camber). To make this adjustment we did jack the vehicle up off the ground for ease of access between the tire and the upper control arm.
Once we adjusted the upper ball joint to the position we wanted, we measured the camber again. This is often a process of trial and error (make an adjustment-check, make an adjustment-check, over and over again). Once we had the camber number we were looking for we tightened the allen bolts locking the upper ball joint in that position on the Skunk2 upper control arm.
 By loosening the allen bolts the sliding ball joint can be moved in (more camber) or moved out (less camber). To make this adjustment we did jack the vehicle up off the ground for ease of access between the tire and the upper control arm.
The process for adjusting camber is very easy using the Skunk2 Pro Camber Kit and the Smart Camber tool. There is nothing really mysterious about camber; it is simply the angle of the tire. The adjustments aren’t difficult and can be done with nothing more than a camber gauge and an allen wrench. Camber adjustments make race cars faster and the correct camber settings can lessen tire wear on street driven cars. So, what are you waiting for? Go set your camber!
Rob Krider is a NASA Honda Challenge road racing National Champion and the author of the novel “Cadet Blues.”
About Skunk2
Since 1994, Skunk2’s goal has been to simply build the highest quality, best performing aftermarket parts for today's sport compact vehicles. Designed by passionate enthusiasts and drawing on nearly 20 years of experience in the sport compact industry, we’re able to create the products tha
Contact us
1 (951) 808-9888
Monday - Friday
Technical and Sales Calls: 7:00 a.m. to 5:00 p.m. PST
Office Hours: 8:00 a.m. to 5:00 p.m. PST
* WARNING: CANCER & REPRODUCTIVE HARM - WWW.P65WARNINGS.CA.GOV
**SOME ITEMS MAYBE FOR OFF-ROAD USE ONLY. CHECK LEGALITY OF AFTERMARKET PRODUCTS WITH YOUR LOCAL STATE, COUNTY, CITY AUTHORITIES BEFORE PURCHASING.
© 2023 Group-A Engineering, inc. / 2050 5th st. norco, ca 92860