Mastering the Basics of Decoupage: Tips and Tricks for Decoupaging
As an Amazon Associate, I earn from qualifying purchases. This post may contain affiliate links. See our full disclosure here.
Have you ever tried to decoupage? It’s a technique that has been around for years, but many people don’t realize what it is and how amazing it can be while crafting. It makes for a fun craft project for kids and adults and is easy to learn. Let me help!

What is Decoupage?
Since the word is super fancy, most people assume it’s a complex skill that takes years to master and perfect. While some forms of decoupage prove this to be true, it’s actually quite simple. The word decoupage comes from the French word decouper. Decouper means to cut from something else. So essentially, decoupage is simply cutting pieces from something else to create something new. See, pretty simple!
While this art form is very simple, it’s not just for kids. Many classrooms will use it to practice working with tissue paper and other fabrics, but decoupage is quite an elegant art form. Many experts use acrylic paint, special decoupage paper, and decoupage mediums to create amazing pieces seen in museums and elsewhere.
You would be surprised at what people can create using decoupage glue like mod podge. The fun thing about decoupage, is you can apply it to practically anything! It’s a great way to fix up old household objects or to make homemade gifts for loved ones.
You can check out how to put Napkins on Rocks by reading this post! They’re absolutely beautiful and make fun decor for the home.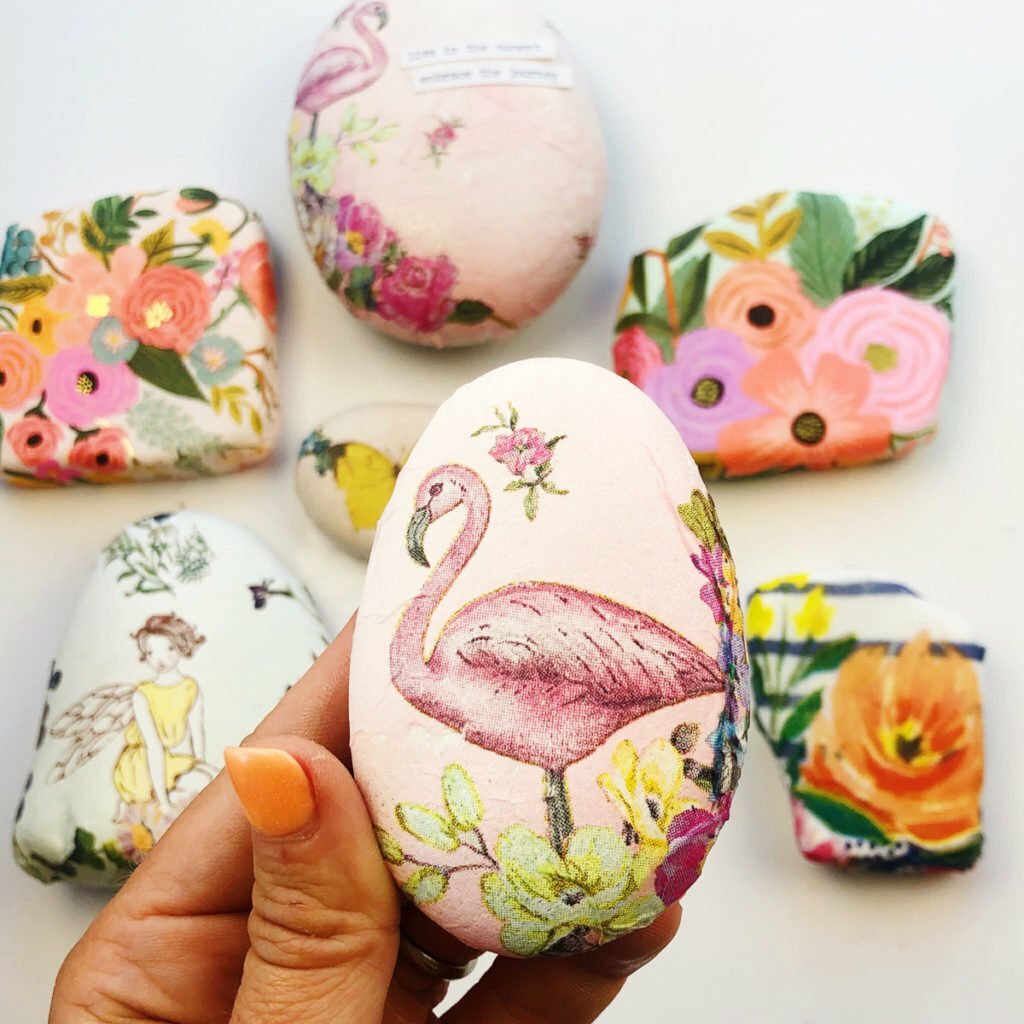
The Decoupaging Basics
Picking a Surface
When deciding to complete decoupage projects, you will need to choose a surface to work on. There are many different surfaces to choose from, so think about the overall goal of your project. Almost any item can be decoupaged. Some popular surfaces to work with include:
- Glass
- Ceramic
- Frames
- Vases
- Scrap Metal
- Tin
- Pieces of Furniture
- Scrap Wood
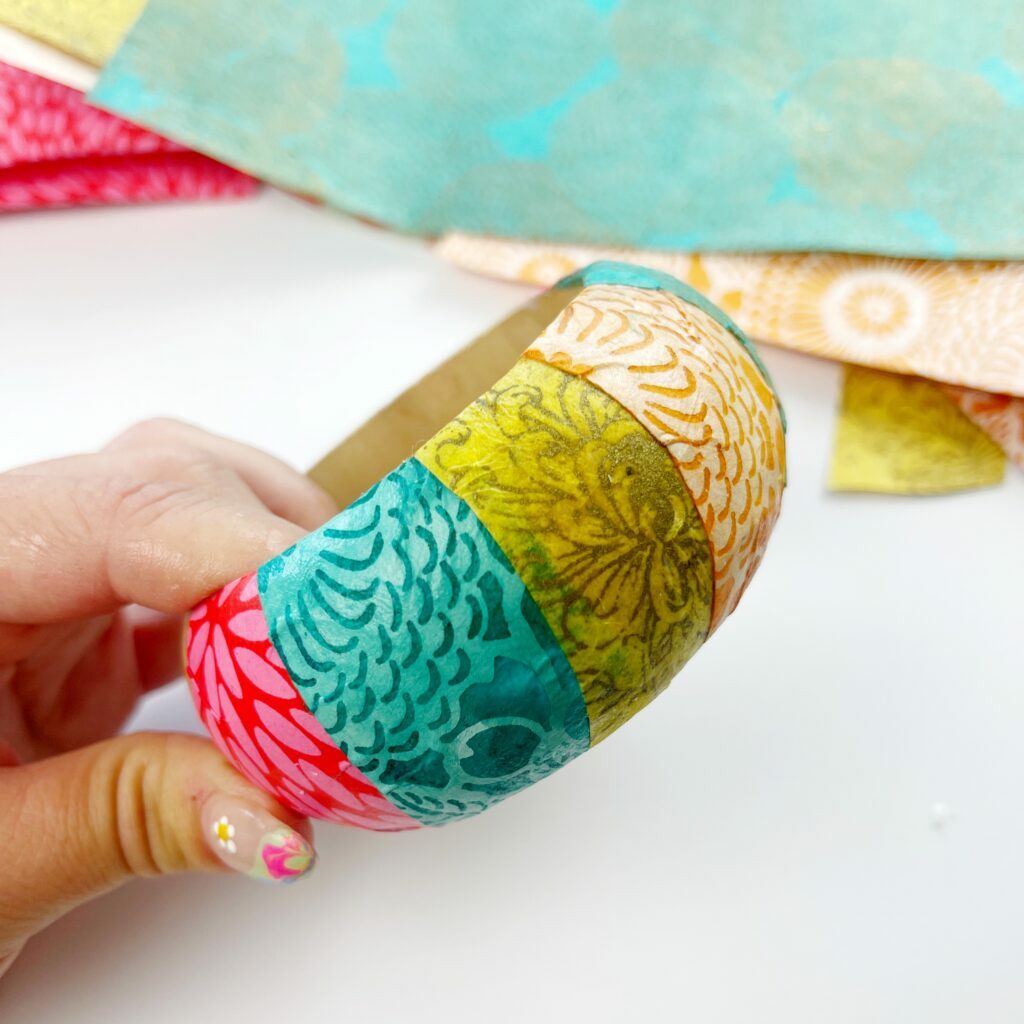
- Wood Cut-Outs
- Terra Cotta
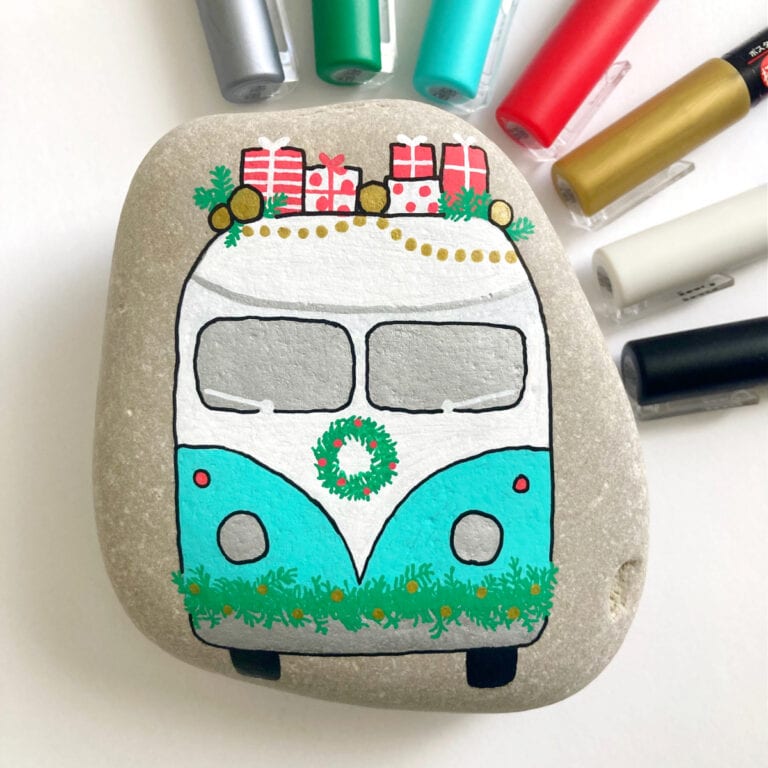
- and other unique surfaces like rocks and shells
Preparing the Surface
Depending on the item you are using you’ll want to clean it thoroughly and make sure it’s dust-free. If you will be decoupaging wood or furniture, you can lightly sand the surface if necessary.
If you want to create a colored background, you’ll want to paint your surface first with acrylic paint. I also like to paint some darker surfaces white if I’m using a thin decoupage paper like napkins so that the background doesn’t show through.
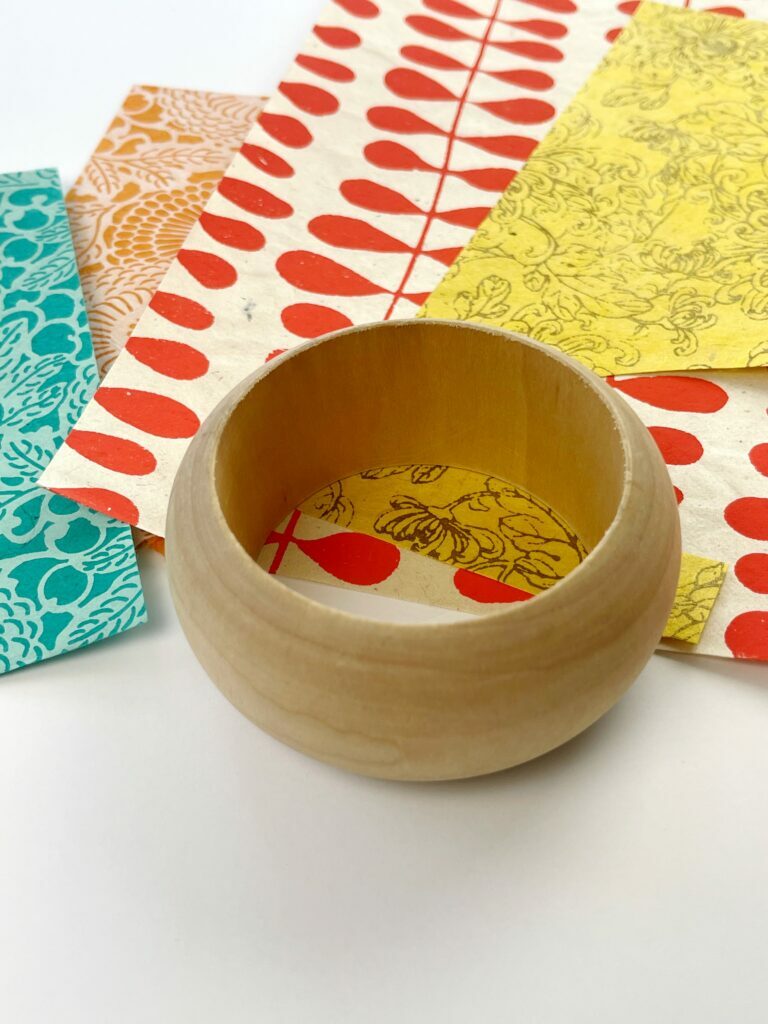
Prepare the Items to be Decoupaged
Next, you will need to choose what you want to stick to your surface. If you are using a variety of items you can cut or tear the items ahead of time to fit your surface or work as you go. Here are some ideas to get you started:
- Colorful Wrapping Paper
- Patterned Scrapbook Paper
- Fabrics
- Tissue Paper
- Wallpaper
- Stickers or Appliques
- Paper Napkins
- Paper Doilies
- Book Pages
- Paper Cutouts
- Leaves
You can check out the best way to decoupage with napkins by reading this post and learn how to make a decoupage shell ring dish.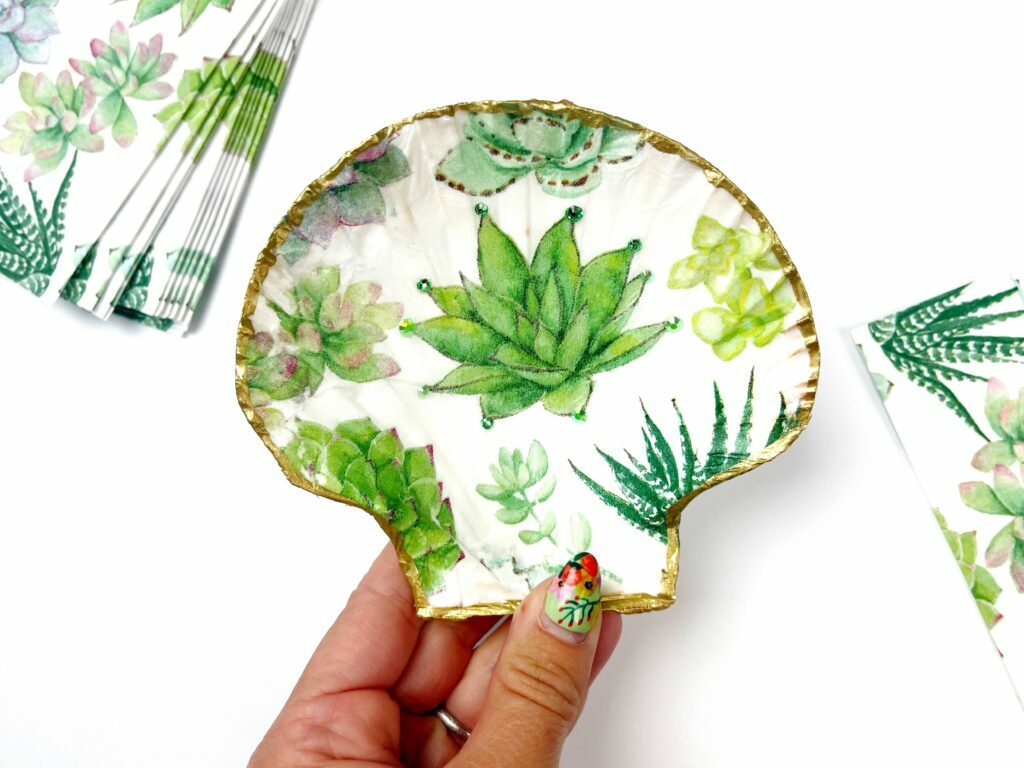
Choosing a Decoupage Medium
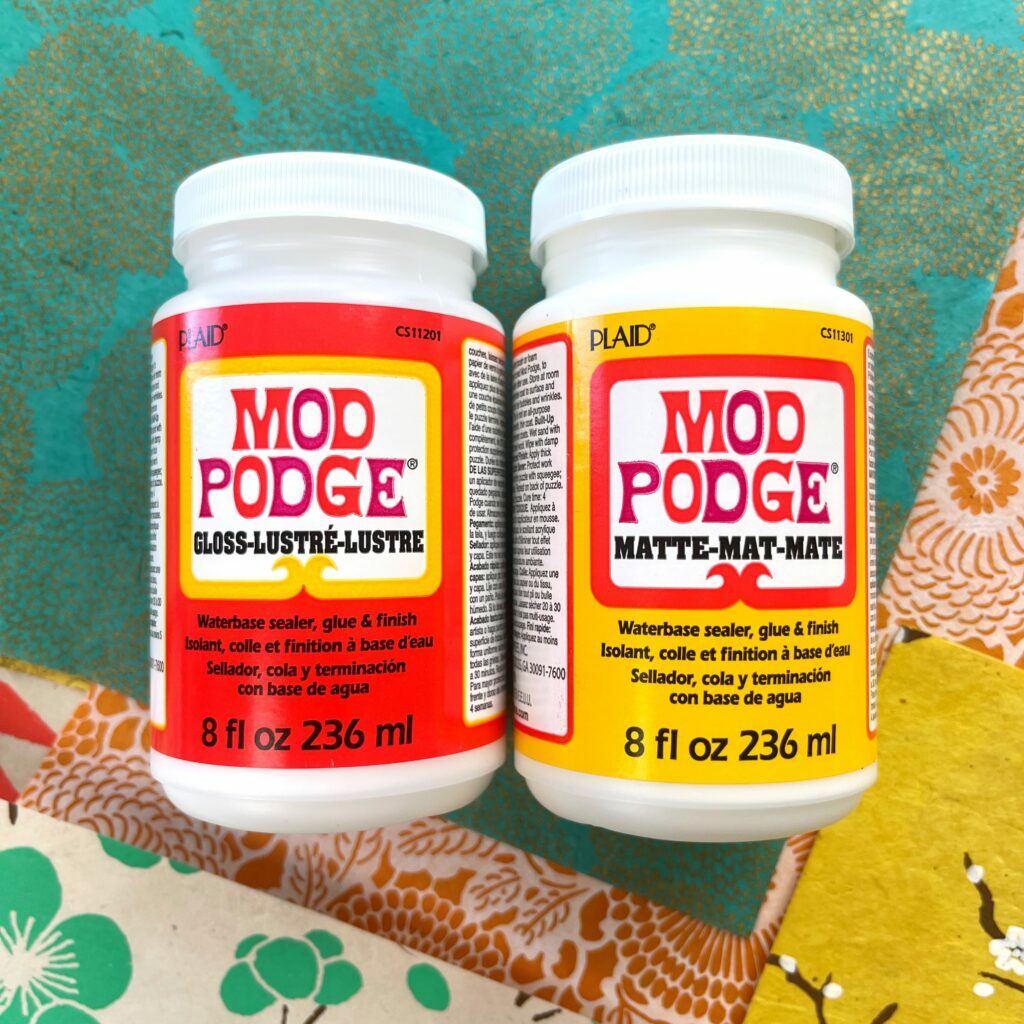
While in school, you may have used elmer’s school glue mixed with water or some other substance. That may have worked in elementary school, but there are much better options to work with. One popular choice is Mod Podge. Mod Podge is a glue, sealant, and finish all in one container. The properties of Mod Podge allow your crafts to stay around much longer than simple school glue would withstand. You can choose from a matte or gloss Mod Podge depending on the finish you’d like.
You can find Mod Podge on Amazon, at your local craft store, Michaels stores or online. Supercenters like Walmart and Target also sell Mod Podge.
My Favorite Decoupage Tools
Before starting a decoupage project, be sure to have all of your supplies. It can get a little messy, so here are some suggestions:
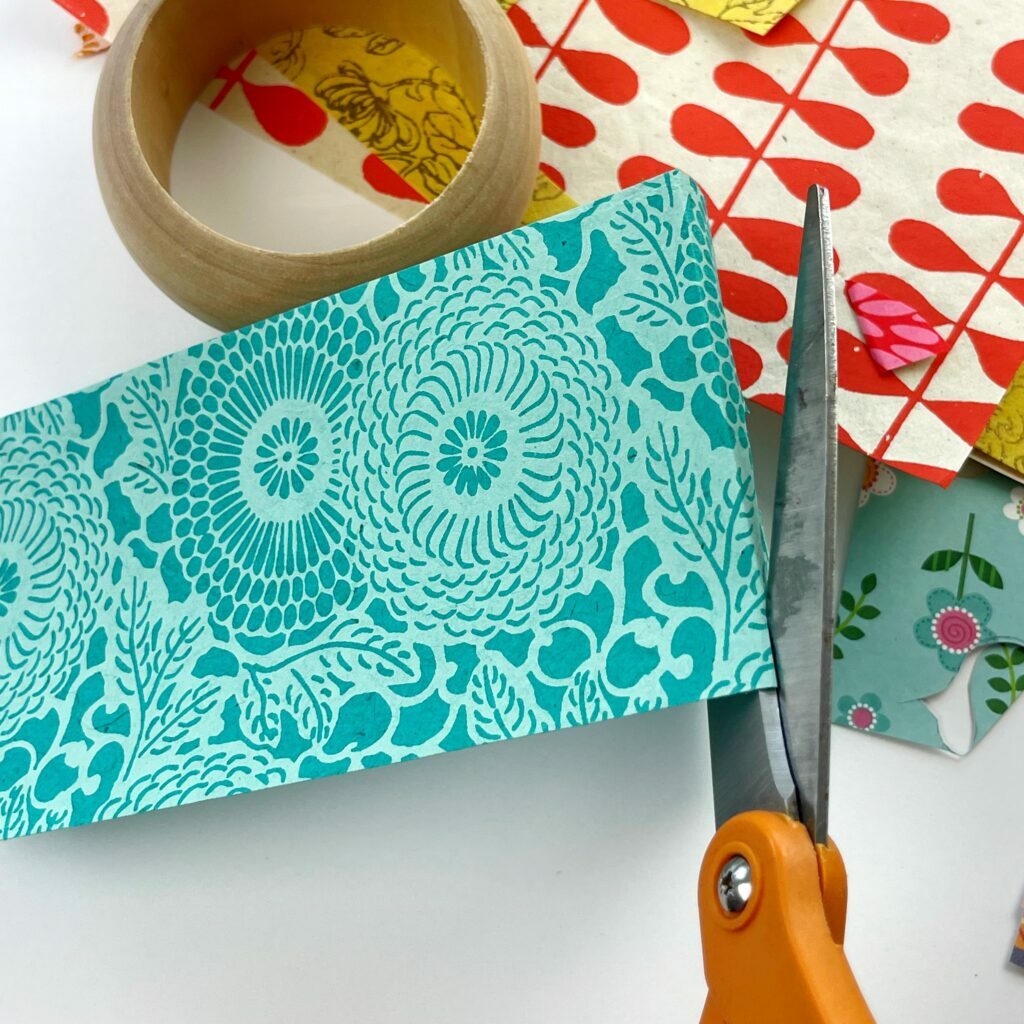
- Scissors – Have a sharp pair of craft scissors on hand to cut through your fabrics and papers.
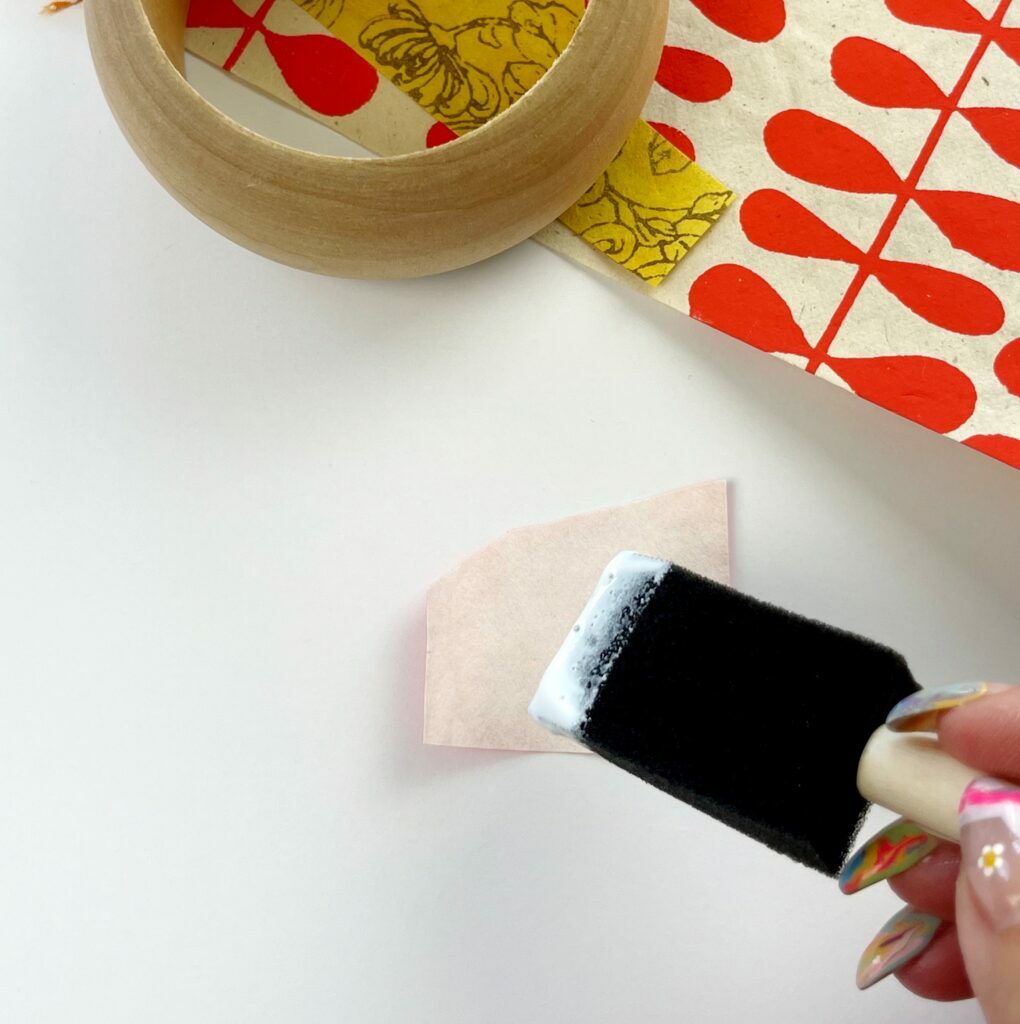
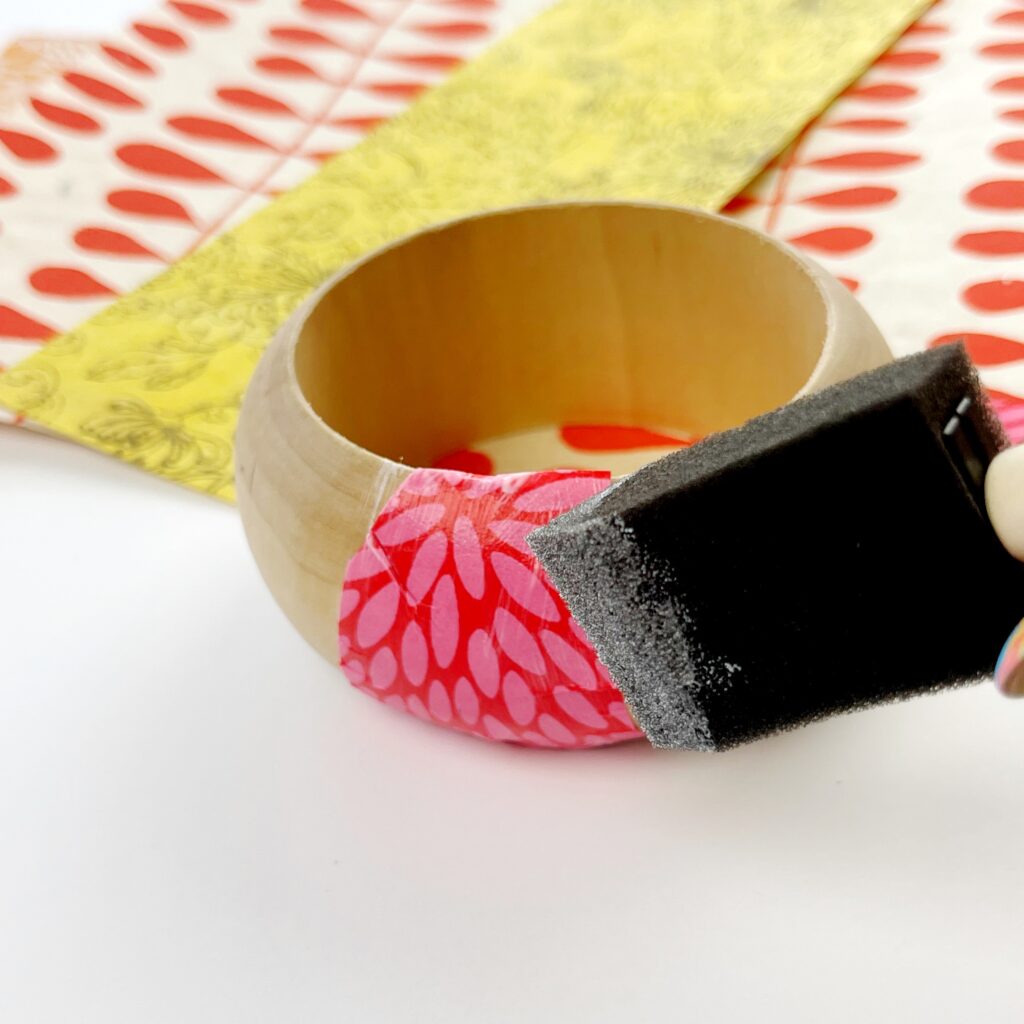
- Brushes – Find yourself some brushes that will hold up against the strength of Mod Podge and decoupage glue. I like these brushes and I often just use a foam brush or a cheap paint brush for decoupage.
- Saran Wrap! – yes that’s right! Saran Wrap is amazing when working with especially thin decoupage items like napkins and tissue paper. Check out my post about The Best Way to Decoupage Napkins and see how I use Saran Wrap as a decoupaging technique.
- Brayer and/or Squeegee – these work great for getting rid of air bubbles on larger surfaces.
The Basic Steps of Decoupaging
Decoupage is a simple craft to learn! There are other crafts that require much more of a learning curve. This popular craft is simple to pick up and it doesn’t break the bank. I would recommend having a damp cloth on hand to wipe up any drips or excess glue.
Before getting started, prepare your surface. If you are working with wood, sand it to make sure everything is smooth.
- Gather your materials.
- Choose your decoupage glue, such as Mod Podge.
- Pre-cut the items that you plan to decoupage with. Cut your fabric, tissue paper, or other materials.
- Make sure the items will fit on the surface. You don’t want them too large, or even too small.
- Add the pieces of material to your surface using decoupage. Either lay the piece on the surface and cover with Mod Podge, or dip it in Mod Podge and use a brush to flatten it to your surface. Work in small sections until you have covered your whole surface.
- Smooth everything out using a squeegee if needed.
- Once you are finished, add another layer of Mod Podge if you think it is necessary. This will let your project live a little longer!
Once you’ve completed these steps, congratulations, you have mastered the art of decoupage.
Where to Find Your Materials
You can find decoupage materials anywhere for your first project! Head over to the Dollar Tree and walk around. You may find small wooden squares or plaques to cover in tissue paper. Their craft section actually has some great items to get crafty with. Sometimes they have wooden or canvas letters that would be so much fun to decoupage. I love this Etsy store for getting wood cut-outs in just about any shape!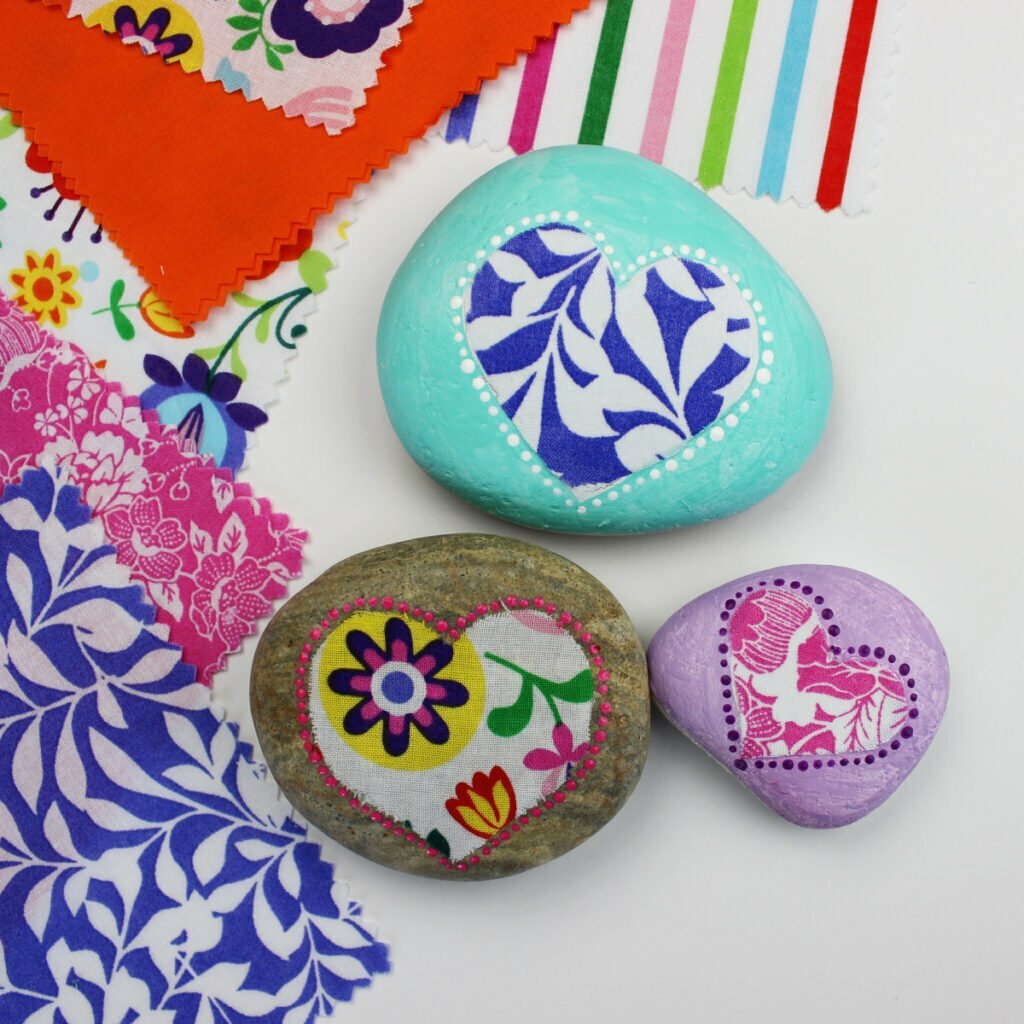
Tips for Smoothing Your Decoupage Project
As you add more layers of varnish, the surface sometimes becomes gritty. This is dependent on the surface you choose to use, but it is much more appealing when the surface ends up being nice and smooth. Between layers of varnish, use a low grit sandpaper to smooth any rough spots. These rough spots can also form from Mod Podge dripping in certain areas. Polishing with a piece of steel wool on the final coat also leaves a smooth finish!
I hope you have so much fun decoupage crafting and working with paper and Mod Podge!