This is an update to the original article I published last year (2018) describing how in about 10 minutes you can create a small fast IDE for modern web (i.e., HTML, CSS, JS, TypeScript, Node, React, Vue, Angular, JSON) and Python development. We do this by customizing a very small version of Eclipse using a hybrid mix of several powerful Eclipse plugins and VS Code extensions and judicious UI customization. The result is a micro-IDE that runs VS Code web tools extensions in addition to Eclipse plugins, is quick to launch, has a clean 2019 modern user experience and a smaller memory footprint than the classic Java-centeric versions of Eclipse.

Prerequisite: Eclipse requires Java 8 or greater. If you do not have Java installed start here. I’m using OpenJ9 v12 for this article.
Step-1: Download the Eclipse Platform Binary
We begin by downloading and installing the Eclipse Platform Binary for your system. This version of Eclipse contains no developer tools, thus making it the fastest, smallest and most basic version of Eclipse available.
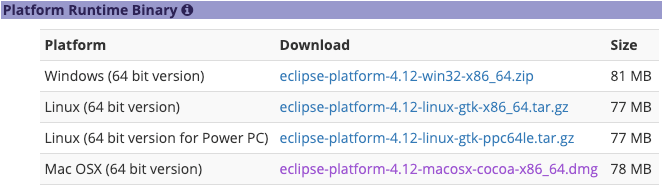
- We will be using the latest Eclipse 4.12 (June 2019 update) platform. View the list of Eclipse downloads and scroll down to the Platform Runtime Binary section similar to that shown below.
- Select and download the version of Eclipse for your system.
- On Windows and Linux extract (unzip) the Eclipse program files to a writable directory of your choosing. On Mac just launch the .dmg file and complete the installation.
Step-2: Launch Eclipse
- From the installation directory locate the Eclipse executable and launch it, e.g., eclipse.exe on Windows or eclipse.app on Mac
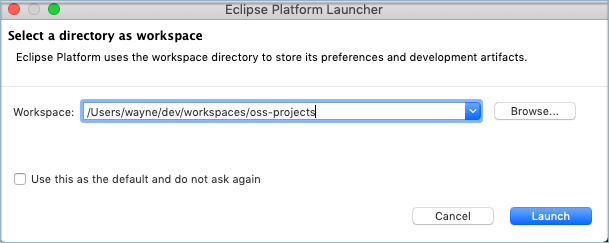
- When Eclipse starts, it will open a dialog requesting the path of a new or existing directory in which it will store your projects, preferences (a.k.a. settings) and metadata. This directory is known as the Eclipse workspace directory. The directory will be created if it does not already exist.
Step-3: Install Plugins
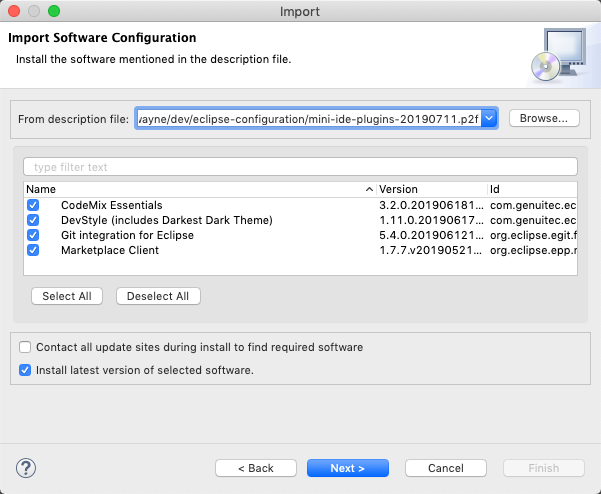
Our version of Eclipse lacks any tools. So in this step we will empower Eclipse by installing 4 plugins. The plugins that we will install are:
- Eclipse Marketplace plugin (open-source, free)
- Git Tools plugin (open-source, free)
- DevStyle plugin (commercial, free)
- CodeMix plugin (commercial, 45 day eval)
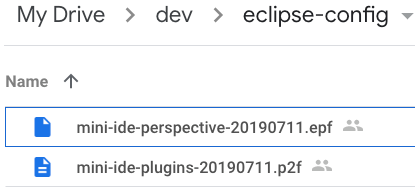
- Download the mini-ide-plugins-20190711.p2f file from my Google doc folder.
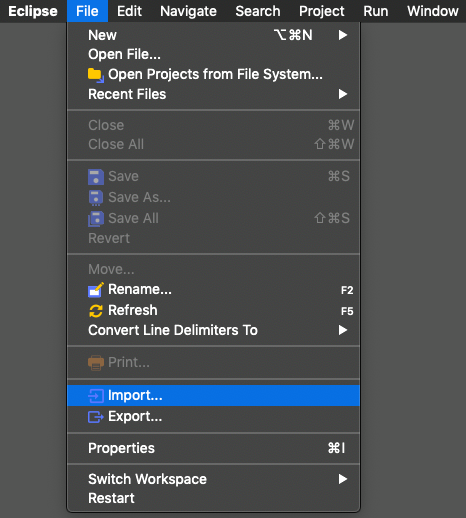
- From the Eclipse menubar choose File>Import to open the Import Dialog.
- From the Import dialog expand the Install node and select Install Software Items from File followed by the Next button.
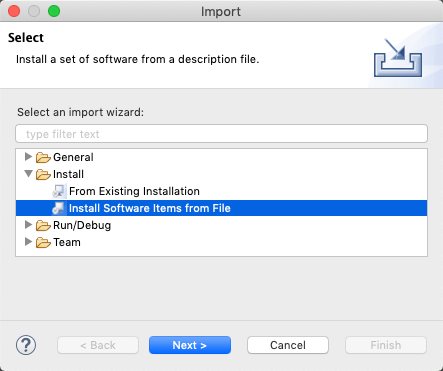
- Use the Browse to select the mini-ide-plugins-20190711.p2f file you downloaded. Then select Next and proceed through the remaining dialog pages to begin installing the plugins.
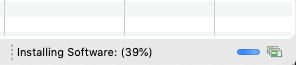
- The plugin installation may take several minutes to complete. You can monitor the installation progress in the bottom-right of the status bar.
- Upon completion of the plugins installation Eclipse will ask you if you want to restart. Choose NO at this time.
Step-4: Import Preferences
With the new plugins installed we need to configure them by setting their preferences; this includes configuring the Eclipse look and feel.
- Download the mini-ide-perspective-20190711.p2f file from the Google doc folder.
- From the Eclipse menubar choose File>Import to open the Import Dialog.
- Expand the General node and select Preferences followed by the Next button
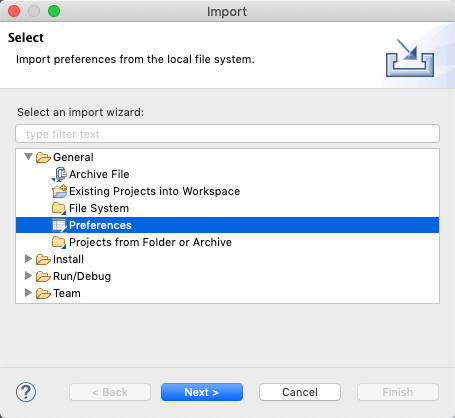
- Use the Browse button to select the mini-ide-perspective-20190711.epf file. Select Finish to begin the preference importing process. This should complete in 2-3 seconds.

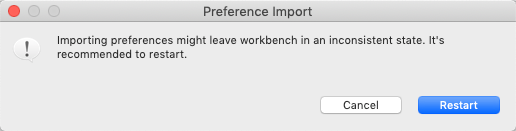
- Upon completion of the preference import process Eclipse will ask you if you want to restart. Choose YES at this time.
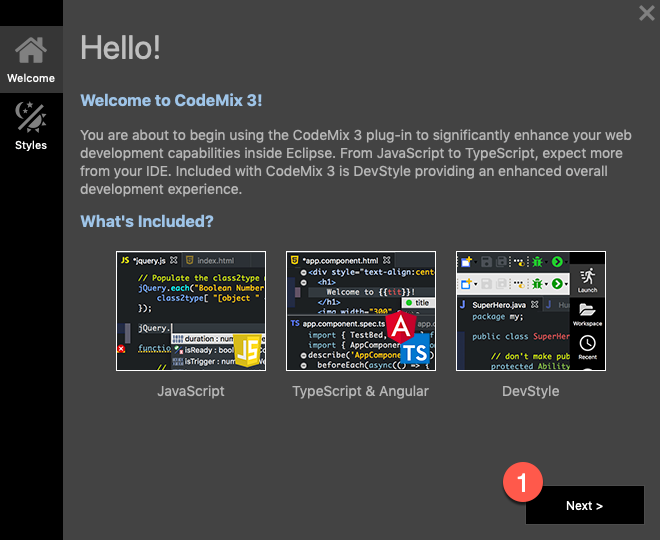
- As Eclipse restarts you will be presented with a Welcome to CodeMix dialog. The 1st screen is informational. Click Next.
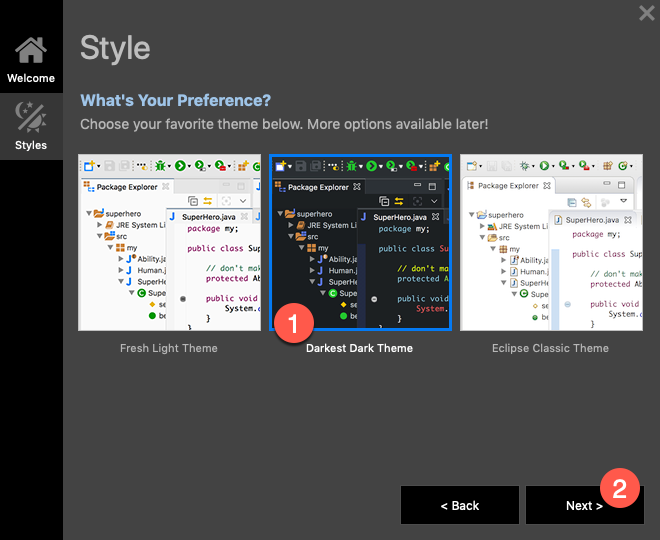
On the 2nd screen of the dialog choose the theme (light or dark) you prefer followed by Next.
Step-5: Configure the Window Layout (Optional)
This final step is to customize the window layout of our mini-ide per the screenshot above.
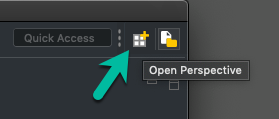
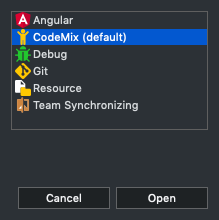
- In the top-right corner of the Eclipse window select the Open Perspective button
- A list of window perspectives will appear. Select the CodeMix perspective followed by the Open button
The Eclipse window should now appear similar to the screenshot at the top of this article. From this layout you can navigate and edit code, run terminals, browser problem markers, launch and monitor build tasks, set and manage breakpoints, launch the debugger and check in and out code from Git without changing Eclipse perspectives. I find this layout much more productive than the disruptive classic Eclipse behavior of changing perspectives for example between coding and debugging.
Enjoy
The CodeMix plugin coding power comes from its ability to run Visual Studio Code extensions. SAY WHAT? Yep, CodeMix provides almost all of the coding, debugging, task execution and extensibility features from Visual Studio Code integrated along side the familiar features of Eclipse in a single developer tool.
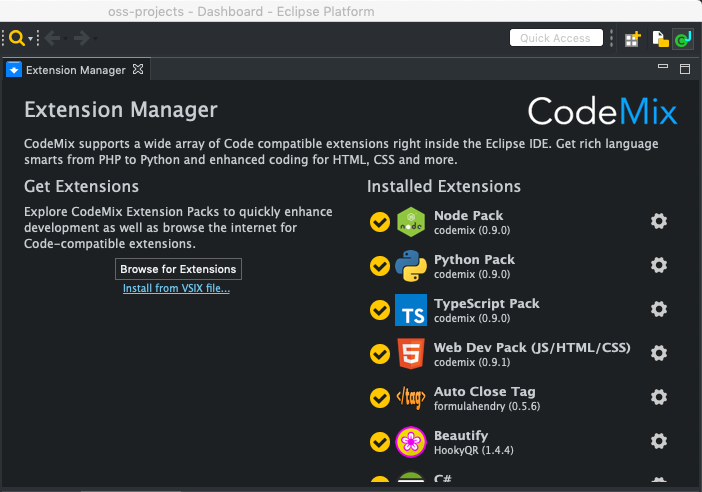
Browse and install VS Code extensions by selecting Help menu > Code Mix Extensions… The CodeMix Extensions Manager view will open and present a list of installed extensions as well as provide access to a catalog of other VS Code compatible extensions that you can install into CodeMix.
Final Notes
I hope you find this simple yet powerful version of Eclipse for non-Java development extremely useful. The layout was influenced from tools such as JetBrain’s Android Studio and Visual Studio Code as well as my own preference for simple clean user experiences. Lastly, you can learn more about the CodeMix and DevStyle plugins here. I will update this document and the files it references anytime Eclipse, CodeMix or DevStyle are updated.
HappyCoding
Disclaimer: In addition to being an avid developer, I am also a Genuitec co-founder, the company that develops the DevStyle and CodeMix plugins for Eclipse that are used in this discussion. The CodeMix plugin is available as a 45 day free trial for professional developers then only $30 and free for students upon request.